对于前端开发者而言,2016 又是一个风不平浪不静的一年。今年新冒出的框架工具,如果不是专职前端或全栈,估计现在和我是差不多的状态,一脸懵逼外加黑人问号脸。为了以后和前端协作时不被鄙视,努力在 2016 年结束前,赶紧先上车,这就是我一个后端开发做前端补习的动机,本文是 Webpack 篇,后续还会更新 Yarn、React、Redux 等。
因为我对前端的认知停留在三脚猫的水平,因此本文不会执著于对不同框架/工具的优劣比较,谨作为个人浅尝辄止的学习记录。
Webpack 基础命令
Hello World
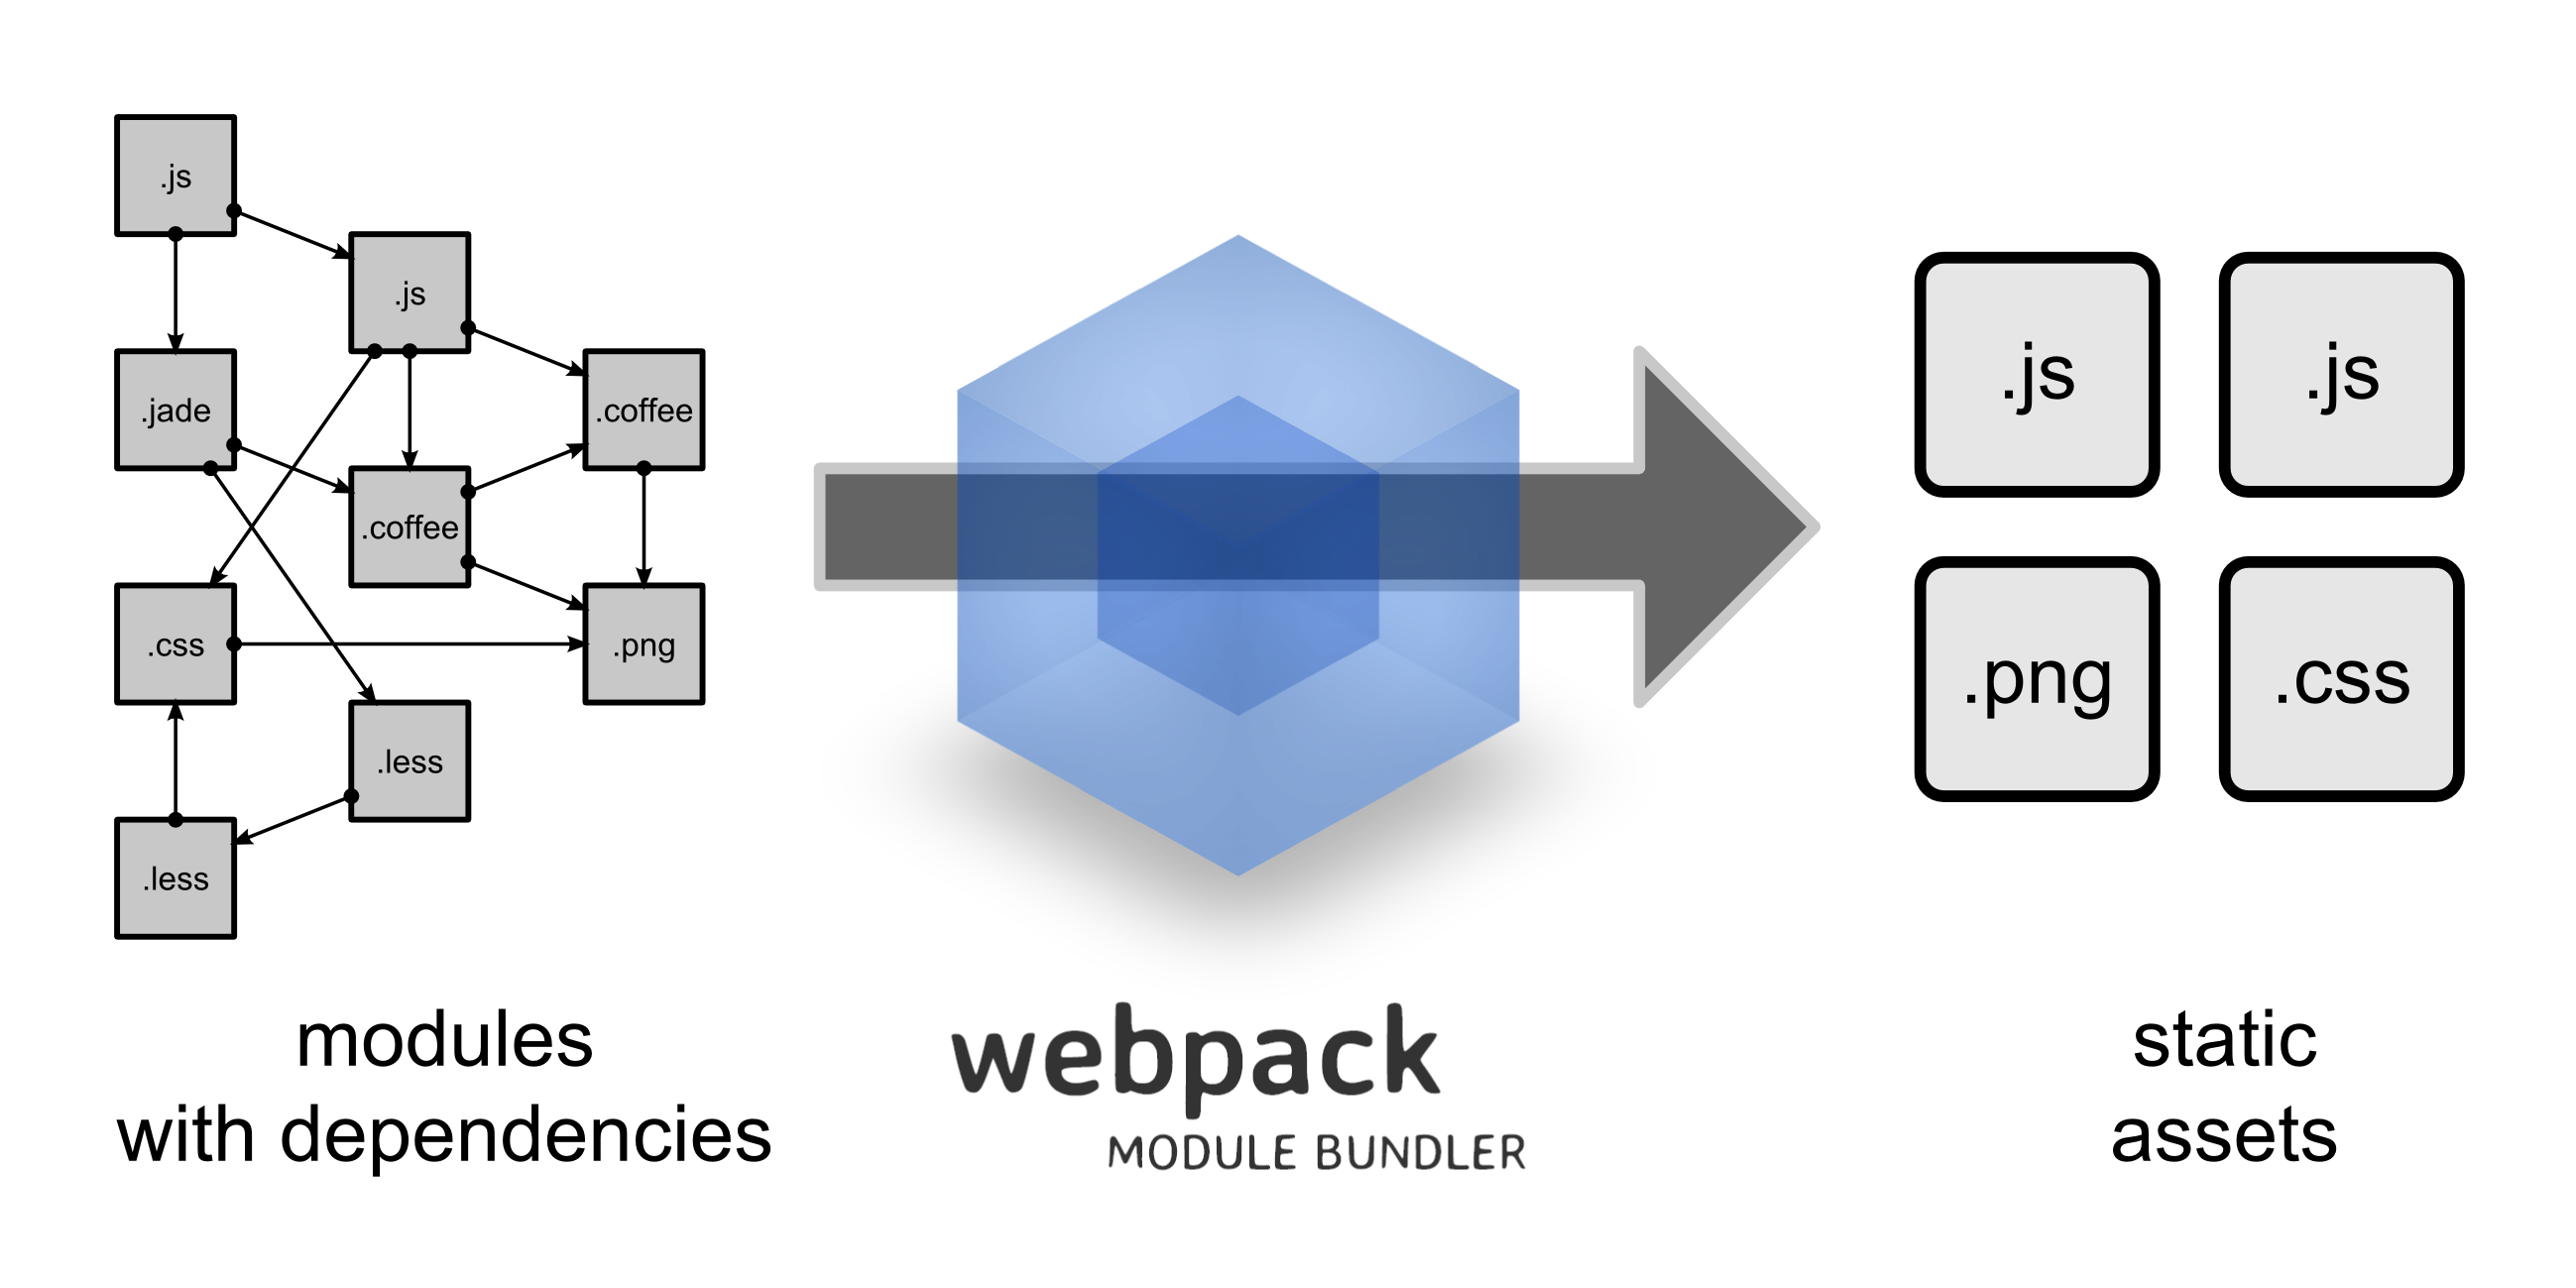
Webpack 是一个前端的模块(Module Bundler)打包工具,如上图所示,它可以对各种类型的静态文件做统一的加载和处理。在展开对它的学习之前,先把准备工作做好,Webpack 的安装很简单,全局或本地安装:
# globally install
yarn global add webpack@2.1.0-beta.20
# locally install
yarn add webpack@2.1.0-beta.20 -D
安装完后,就可以在控制台使用 webpack 命令了。在目录下执行 webpack,首先需要配置 webpack.config.js 文件,由该配置文件来控制 webpack 的操作。参考阮一峰老师 GitHub 上的示例如下:
// webpack.config.js
module.exports = {
  entry: './main.js',
  output: {
    filename: 'bundle.js'
  }
};
然后执行 webpack 命令就可以按照配置文件的设置,把目录下的 main.js 打包成 bundle.js。
核心概念
Webpack 有 4 个核心概念必须要了解:Entry、Output、Loaders 和 Plugins。
Entry
webpack 为 web 应用的依赖关系创建了图表,而 Entry 则是告诉 webpack 这张图表的入口位置并循着依赖关系去打包,webpack 通过对 webpack configuration object 设置 entry 属性来定义 Entry,参考下面的代码:
# webpack.config.js
module.exports = {
  entry: './path/to/my/entry/file.js'
};
如果要指定多个 Entry,则需要将 entry 属性从 string 改为 Array<string>,比如 ['./main.js', ‘./index.js’]。也可以使用 Object 语法,把 entry 属性设置为一个 key-value 对象,这是更具扩展性的定义 entry 的写法:
const config = {
  entry: {
    app: './src/app.js',
    vendors: './src/vendors.js'
  }
};
module.exports = config;
Output
既然由 Bundle 的入口 Entry,相应的必然也会有 Bundle 的出口,这就是 Output。我们需要告知 webpack 对打包后的静态资源如何处置,存放在哪,文件名是什么。webpack 的 output 属性描述了该如何处理打包后的代码。
# webpack.config.js
var path = require('path');

module.exports = {
  entry: './path/to/my/entry/file.js',
  output: {
    path: path.resolve(__dirname, 'dist'),
    filename: 'my-first-webpack.bundle.js'
  }
};
对于 output.filename,如果 entry 属性配置了多个文件,则需要使用命名替换的方式确保 output filename 不重名。其中,占位符 [name] 采用 chunk 的名称作为替换,[hash] 是采用编译后文件的 hash 值替换,而 [chunkhash] 则是根据 chunk 的 hash 值来替换。
{
  entry: {
    app: './src/app.js',
    search: './src/search.js'
  },
  output: {
    filename: '[name].js',
    path: __dirname + '/build'
  }
}
对于 output.path 属性,必须设为绝对路径,占位符 [hash] 会被编译后文件的 hash 值替换:
output: {
    path: "/home/proj/public/assets",
    publicPath: "/assets/"
}
Loaders
webpack 可以对项目里所有静态资源(包括 .css、.html、scss、jpg 等)所谓模块进行处理,但是 webpack 只能理解 JavaScript,如果要处理其他类型的静态文件,就需要 webpack 的 Loaders,把这些静态文件转换成模块的处理器。在 webpack.config.js 的 Loaders 属性配置中,有两个目标需要确认:
- 标识什么文件可以被转换成模块(由
test属性指定); - 指定转换这些文件的处理器 loader(由
use属性指定);
var path = require('path');

const config = {
  entry: './path/to/my/entry/file.js',
  output: {
    path: path.resolve(__dirname, 'dist'),  // bundle 文件的绝对路径
    publicPath: "/dist/",  // 网站运行时的访问路径
    filename: 'my-first-webpack.bundle.js'  // bundle 的文件名
  },
  module: {
    rules: [
      {test: /\.(js|jsx)$/, use: 'babel-loader'}
    ]
  }
};
上面的配置,通过 rule 属性对单个模块的处理进行设置,因此 webpack 会对项目依赖关系中被 require 或 import 的 .js 和 .jsx 文件,在它们被添加进 bundle 之前,用 babel-loader 处理器进行转换处理(该处理器会把 JSX 和 ES6 的文件转换成 JS 文件)。另外,loaders 的名称都是 xxx-loader 格式,use 属性也可以简写为 xxx。
Plugins
Loaders 只能在 bundle 之前对静态资源作预处理,而 Plugins 则可以对编译后文件和 chunk 文件进行处理,比如 UglifyJsPlugin 可以对 bundle 后的 JavaScript 代码进行压缩处理。
var webpack = require('webpack');
var uglifyJsPlugin = webpack.optimize.UglifyJsPlugin;
module.exports = {
  entry: './main.js',
  output: {
    filename: 'bundle.js'
  },
  plugins: [
    new uglifyJsPlugin({
      compress: {
        warnings: false
      }
    })
  ]
};
结合 React
在了解 webpack 的基础操作后,可以在 React 项目中实际运用 webpack 进行打包。为了便于描述,就采用最简单的 Hello World 例子。React 项目结构如下:
- hello-world
    - dist/
    - src/
        - js/
            Welcome.js
            entry.js
    index.html
    webpack.config.js
其中,Welcome.js 定义了一个 React Component,代码如下:
// Welcome.js
import React from 'react';

class Welcome extends React.Component {
  render() {
    return <h1>Hello, {this.props.name}</h1>;
  }
}
entry.js 是依赖关系的入口文件,引入依赖的模块,并输出页面元素:
// entry.js
import React from 'react';
import Welcome from './Welcome';

React.render(<Welcome name="sudoz" />, document.getElementById('root'));
而 index.html 的页面源码如下:
<html>
<head>
  <meta charset="UTF-8">
  <title>Hello World</title>
</head>
<body>
  <div id="root">
    <!-- This HTML file is a template. -->
  </div>
  <script src="/dist/bundle.js"></script>
</body>
</html>
webpack.config.js 需要对 React 的 JSX 文件进行 babel 转换:
// webpack.config.js
module.exports = {
  entry: [
    path.resolve(root_path, './src/js/entry')
  ],
  output: {
    path: path.resolve(root_path, 'dist'),
    publicPath: '/dist/',
    filename: 'bundle.js'
  },
  module: {
    rules: [
      {
        test: /\.js[x]$/,
        use: ['babel-loader'],
        query: {
          presets: ['es2015', 'react']
        },
        exclude: /node_modules/
      }
  }
}
模块热替换
当修改、新增或移除模块时,热替换(Hot Module Replacement, HMR)可以使程序无需重新载入页面就能实现更新。
要使用 HMR,需要安装一下依赖,另外在安装 React 依赖:
yarn add -D babel@6.5.2 babel-core@6.13.2 babel-loader@6.2.4 babel-preset-es2015@6.13.2 babel-preset-react@6.11.1 babel-preset-stage-2@6.13.0 css-loader@0.23.1 postcss-loader@0.9.1 react-hot-loader@3.0.0-beta.6 style-loader@0.13.1 webpack@2.1.0-beta.20 webpack-dev-server@2.1.0-beta.0

yarn add react@15.3.0 react-dom@15.3.0
配置 .babelrc
{
  "presets": [
    ["es2015", {"modules": false}],
    // webpack understands the native import syntax, and uses it for tree shaking

    "stage-2",
    // Specifies what level of language features to activate.
    // Stage 2 is "draft", 4 is finished, 0 is strawman.
    // See https://tc39.github.io/process-document/

    "react"
    // Transpile React components to JavaScript
  ],
  "plugins": [
    "react-hot-loader/babel"
    // Enables React code to work with HMR.
  ]
}
webpack.config.js 的参考配置:
const { resolve } = require('path');
const webpack = require('webpack');

module.exports = {
  entry: [
    'react-hot-loader/patch',
    // activate HMR for React

    'webpack-dev-server/client?http://localhost:8080',
    // bundle the client for webpack-dev-server
    // and connect to the provided endpoint

    'webpack/hot/only-dev-server',
    // bundle the client for hot reloading
    // only- means to only hot reload for successful updates


    './index.js'
    // the entry point of our app
  ],
  output: {
    filename: 'bundle.js',
    // the output bundle

    path: resolve(__dirname, 'dist'),

    publicPath: '/'
    // necessary for HMR to know where to load the hot update chunks
  },

  context: resolve(__dirname, 'src'),

  devtool: 'inline-source-map',

  devServer: {
    hot: true,
    // enable HMR on the server

    contentBase: resolve(__dirname, 'dist'),
    // match the output path

    publicPath: '/'
    // match the output `publicPath`
  },

  module: {
    rules: [
      {
        test: /\.js$/,
        use: [
          'babel-loader',
        ],
        exclude: /node_modules/
      },
      {
        test: /\.css$/,
        use: [
          'style-loader',
          'css-loader?modules',
          'postcss-loader',
        ],
      },
    ],
  },

  plugins: [
    new webpack.HotModuleReplacementPlugin(),
    // enable HMR globally

    new webpack.NamedModulesPlugin(),
    // prints more readable module names in the browser console on HMR updates
  ],
};
上面的配置是假定入口文件是 ./src/index.js,且需要引入 Loader 来处理 CSS 模块。注意 entry 属性中增加了 react-hot-loader 模块,这是开启 React 组件 HMR 的必要操作。NamedModulesPlugin 是非常有用的 Plugin,它能友好的显示什么模块发生了 HMR。
再来看 webpack 官方文档给出的入口 JS 文件:
// ./src/index.js
import React from 'react';
import ReactDOM from 'react-dom';

import { AppContainer } from 'react-hot-loader';
// AppContainer is a necessary wrapper component for HMR

import App from './components/App';

const render = (Component) => {
  ReactDOM.render(
    <AppContainer>
      <Component/>
    </AppContainer>,
    document.getElementById('root')
  );
};

render(App);

// Hot Module Replacement API
if (module.hot) {
  module.hot.accept('./components/App', () => {
    const NewApp = require('./components/App').default
    render(NewApp)
  });
}
App 组件 App.js 源码:
// ./src/components/App.js
import React from 'react';
import styles from './App.css';

const App = () => (
  <div className={styles.app}>
    <h2>Hello, </h2>
  </div>
);

export default App;
App.css
// ./src/components/App.css
.app {
    text-size-adjust: none;
    font-family: helvetica, arial, sans-serif;
    line-height: 200%;
    padding: 6px 20px 30px;
}
在项目根目录下执行 webpack-dev-server,打开 http://127.0.0.1:8080 查看页面控制台。
参考资料:
- Webpack 2 - Docs
- 阮一峰 - webpack-demos